For Designers
Most surface decisions fail for the same reason: the material was chosen from an image rather than specified for a condition. A short, ordered process prevents it.
1. Define the role of the surface
Is this plane meant to lead the room or support it? A leading surface can carry relief, deeper tone and stronger texture. A supporting surface should stay smooth and close to the architecture. Deciding this first removes most of the later hesitation.
2. Choose tone against the light, not the moodboard
Pale tones expand a space and reveal texture; deeper tones contract it and emphasise form. Both behave differently under warm artificial light than under north daylight, so tone should be judged in the room it is destined for, at the time of day the room will be used.
3. Select the collection for its geometry
The collections are, in effect, a vocabulary of surface behaviour: near-plain fields, linear rhythm, modular grids, and pronounced relief. Match the geometry to the scale of the plane — fine rhythm rewards close viewing, stronger relief needs distance and a light source to be read.
4. Confirm the application
Interior wall, floor, wet area, façade and outdoor paving each have their own requirements for finish, substrate preparation and detailing. Confirm suitability with the technical documentation and, where the project crosses inside and outside, use a collection intended for both so the language stays continuous.
5. Sample properly, then freeze the decision
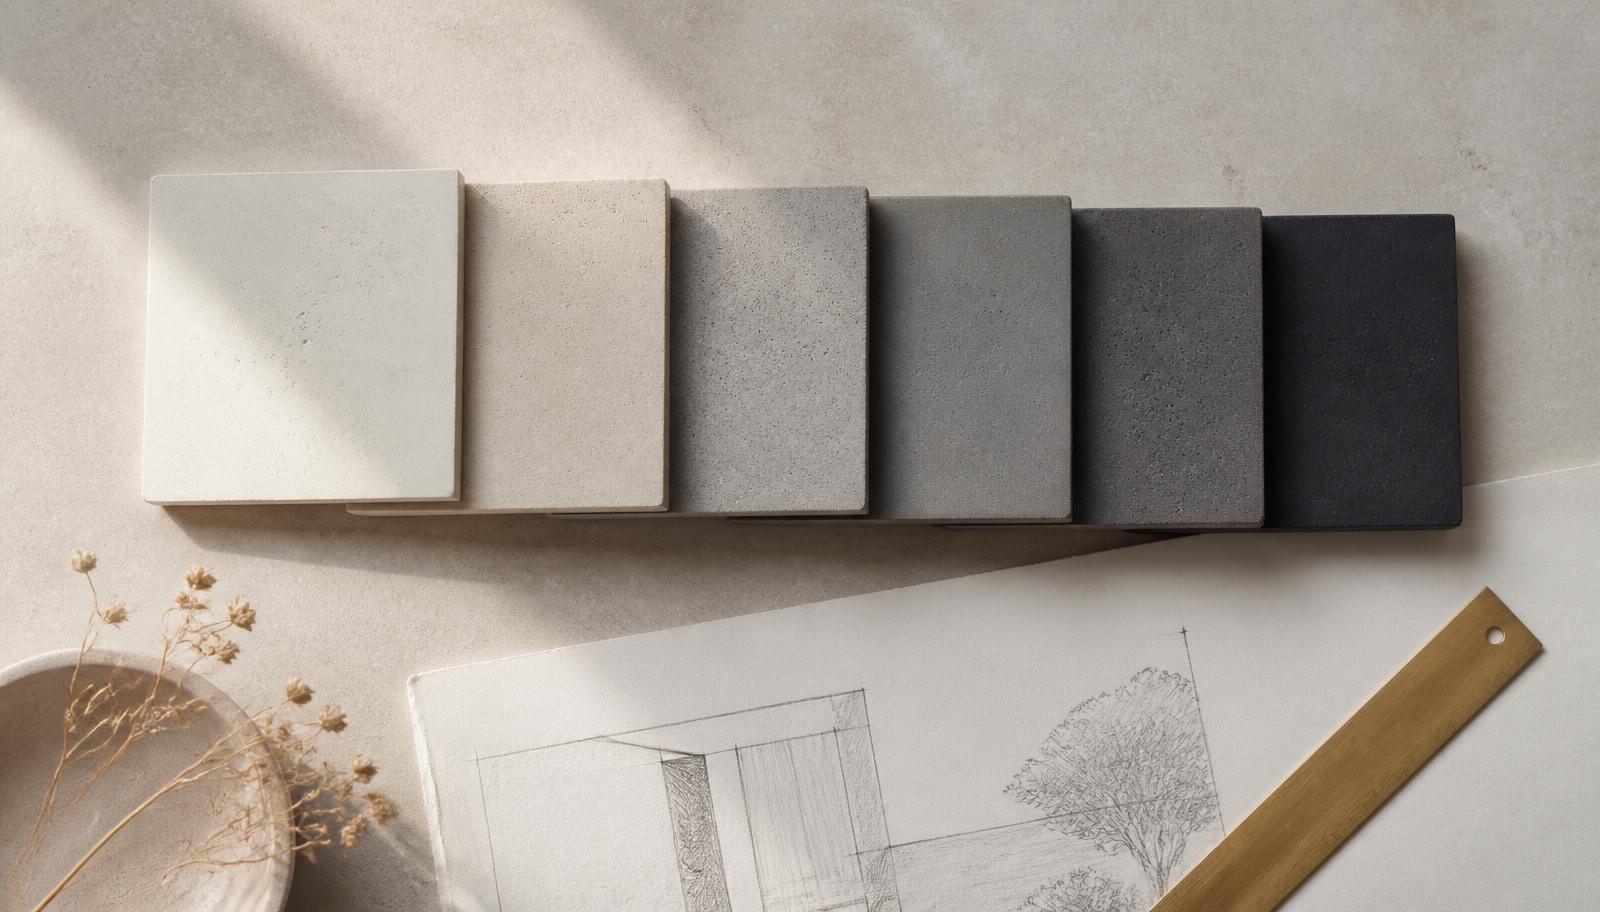
Request samples in the shortlisted tones and finishes, view them vertically, in situ and at scale, and agree a tonal range rather than a single reference. Once approved, record the finish, geometry, tone range and joint intention in the specification — and keep an approved sample on site as the benchmark.
6. Plan the joints and the lighting together
Setting-out and lighting decide how a handcrafted surface is perceived. A grazing wash reveals relief; a flat frontal light erases it. Resolve both on the drawings, not on the wall.
Specified this way, a mineral surface stops being a risk and becomes the most reliable decision in the project.
